
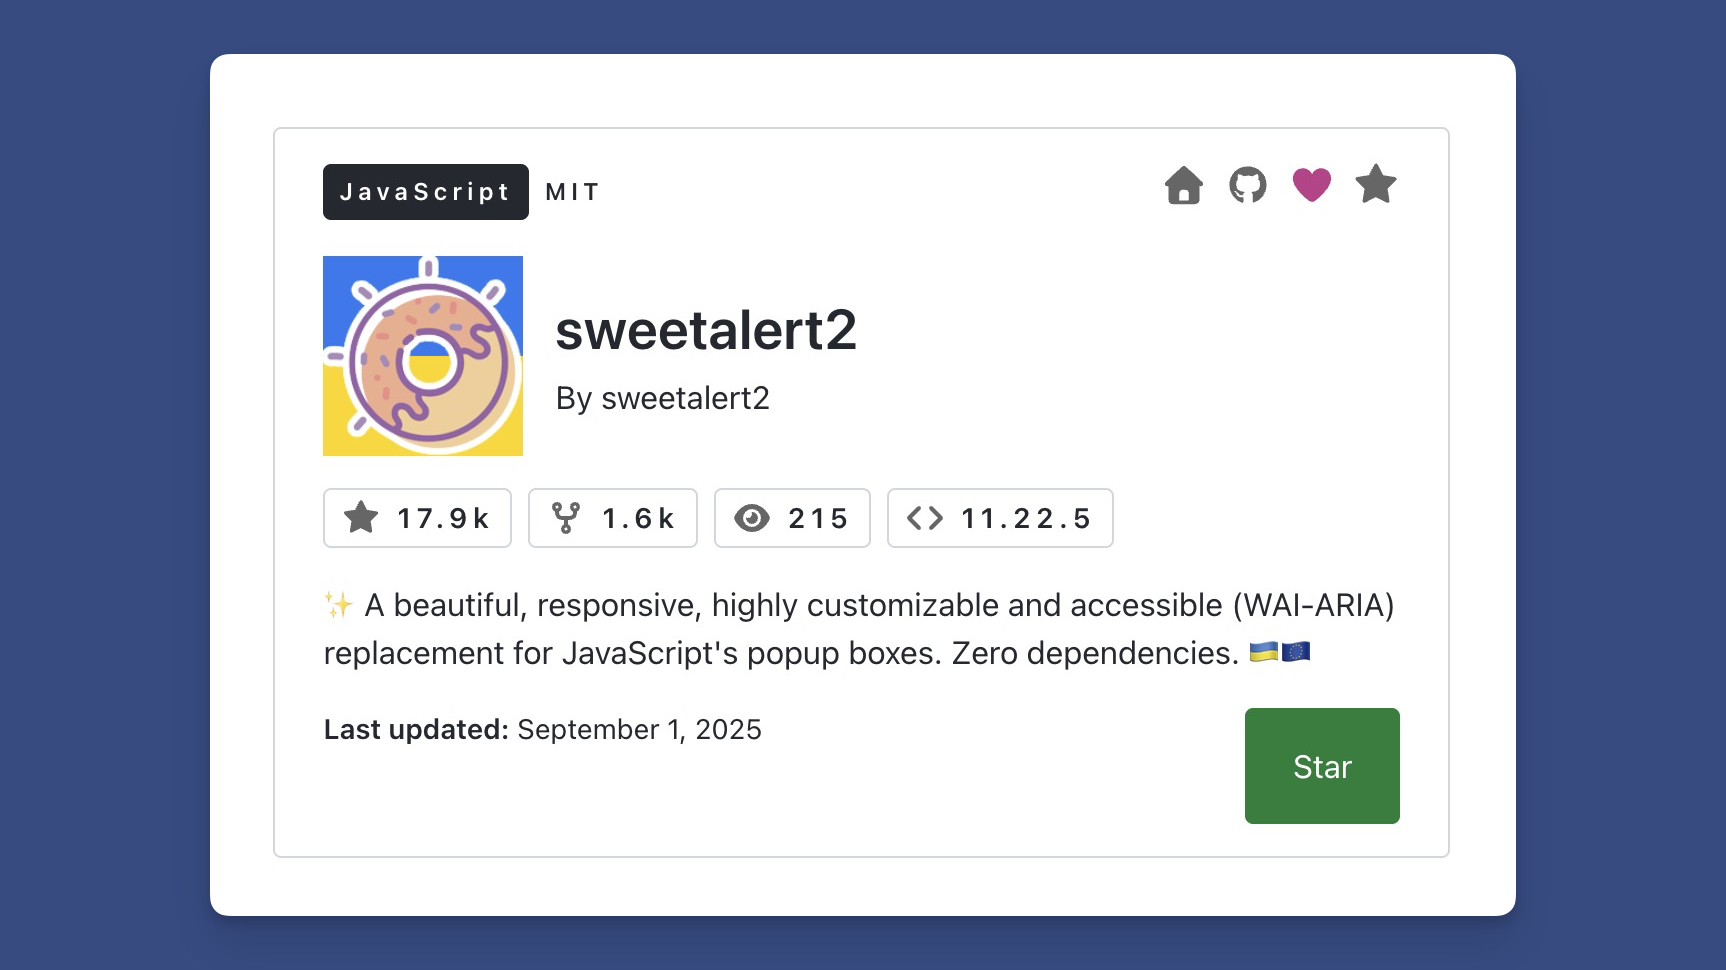
The block allows you to insert any public repository and display it in a beautiful layout.
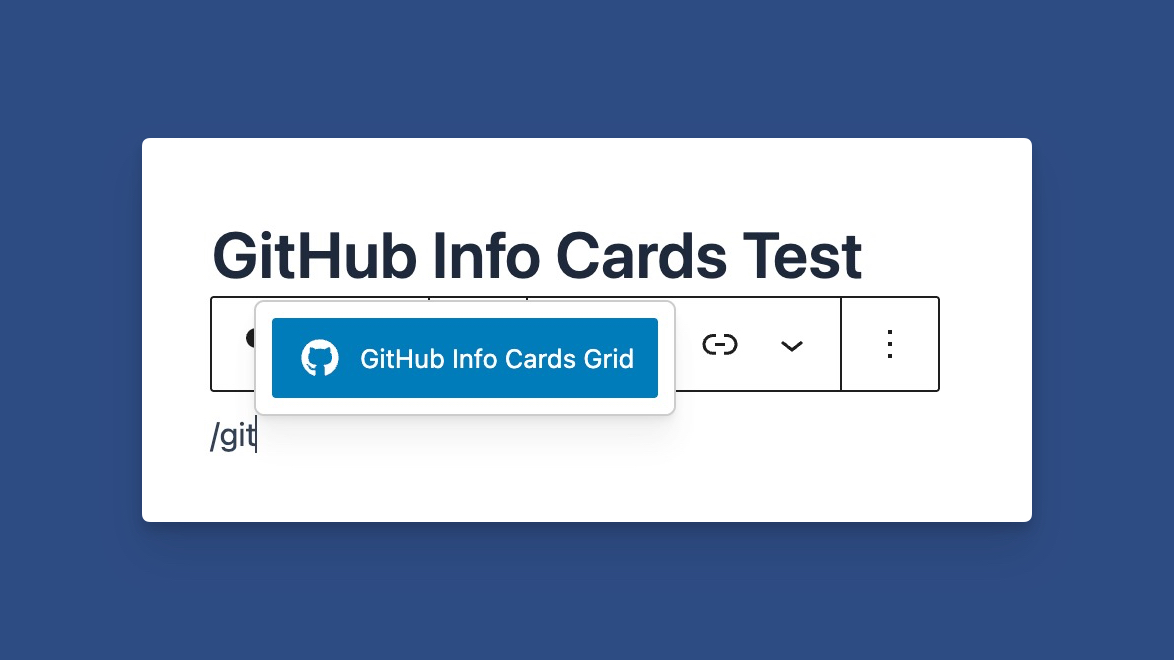
First is finding the block, which I recommend using a / command for.
Inserting the Block
Using the slash command, find the GitHub Info Cards Grid block. Use slash command: /git
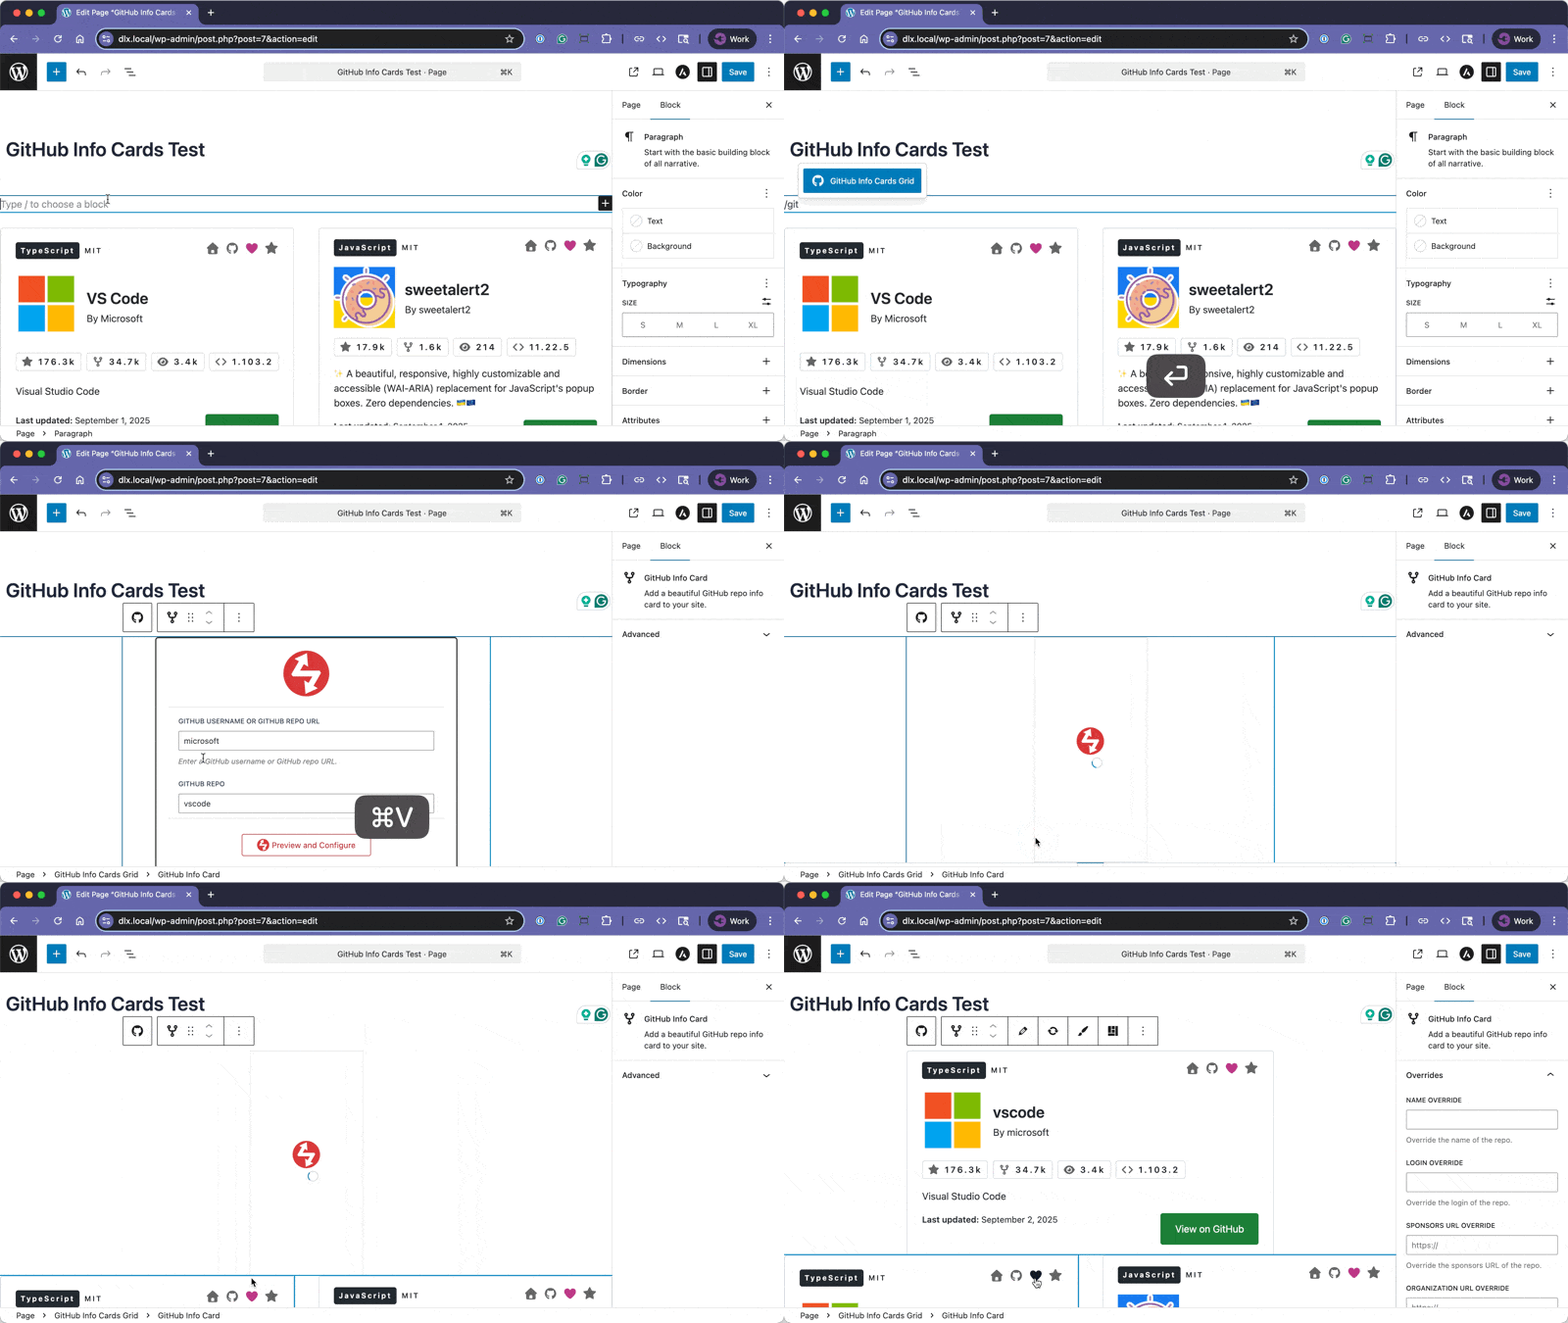
From there, you can enter the repo information, including username and repo.
Configuring the the Parent Block
The blocks are split into two. You have a main grid block and a child GitHub Info Card block.
In the main block’s toolbar, you’ll find the following shortcuts.
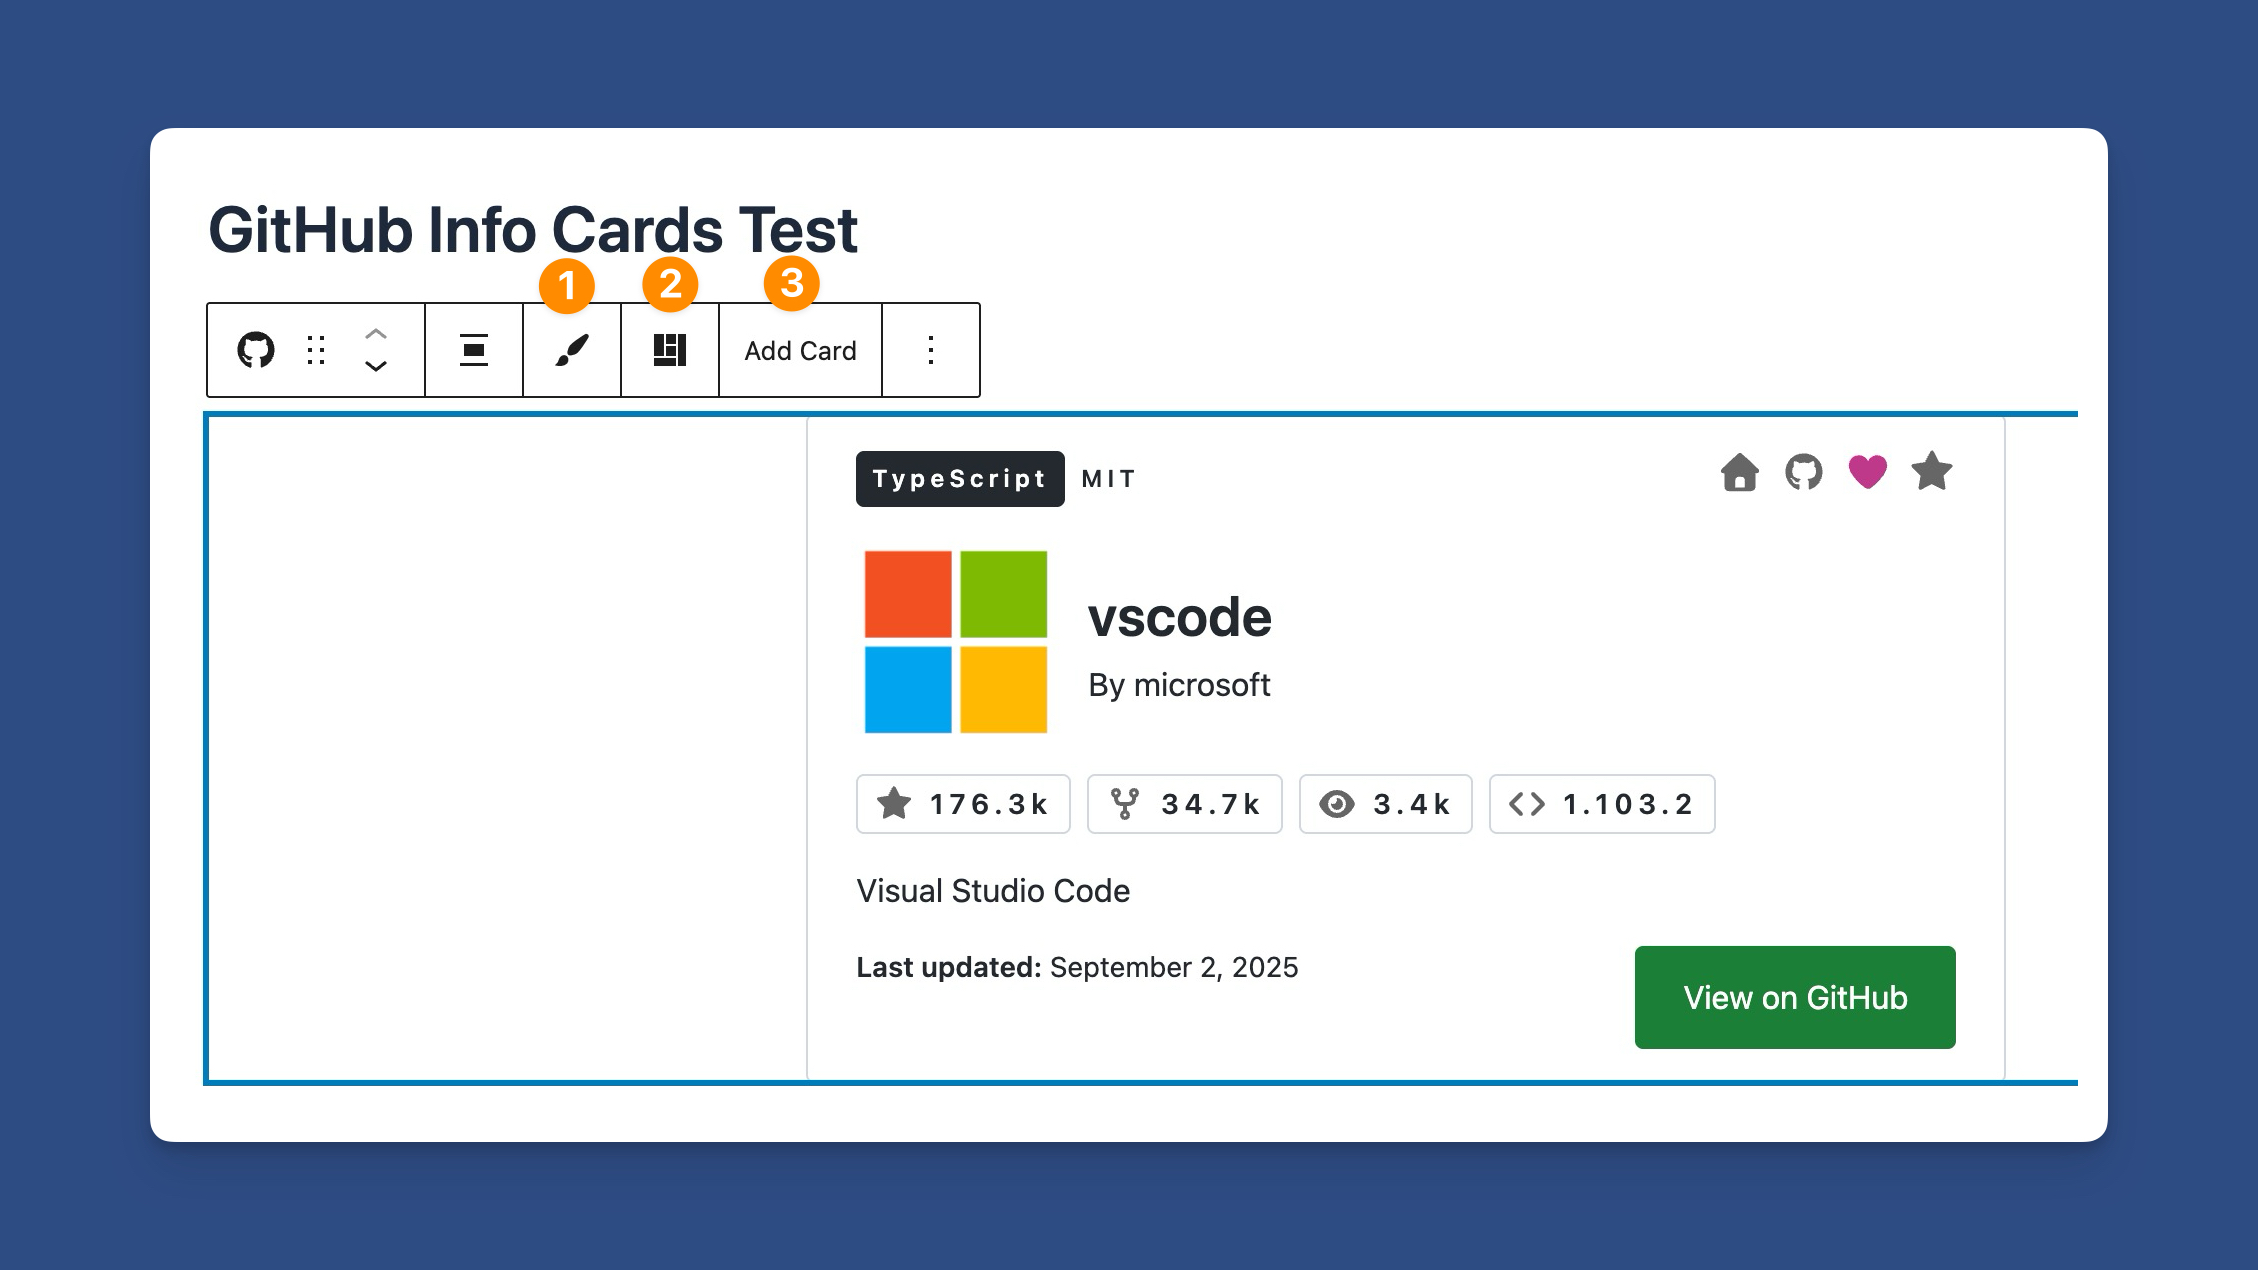
- Switch themes
- Switch between Large and Card layouts
- Add a New Card
You can also switch themes via the block’s sidebar options.
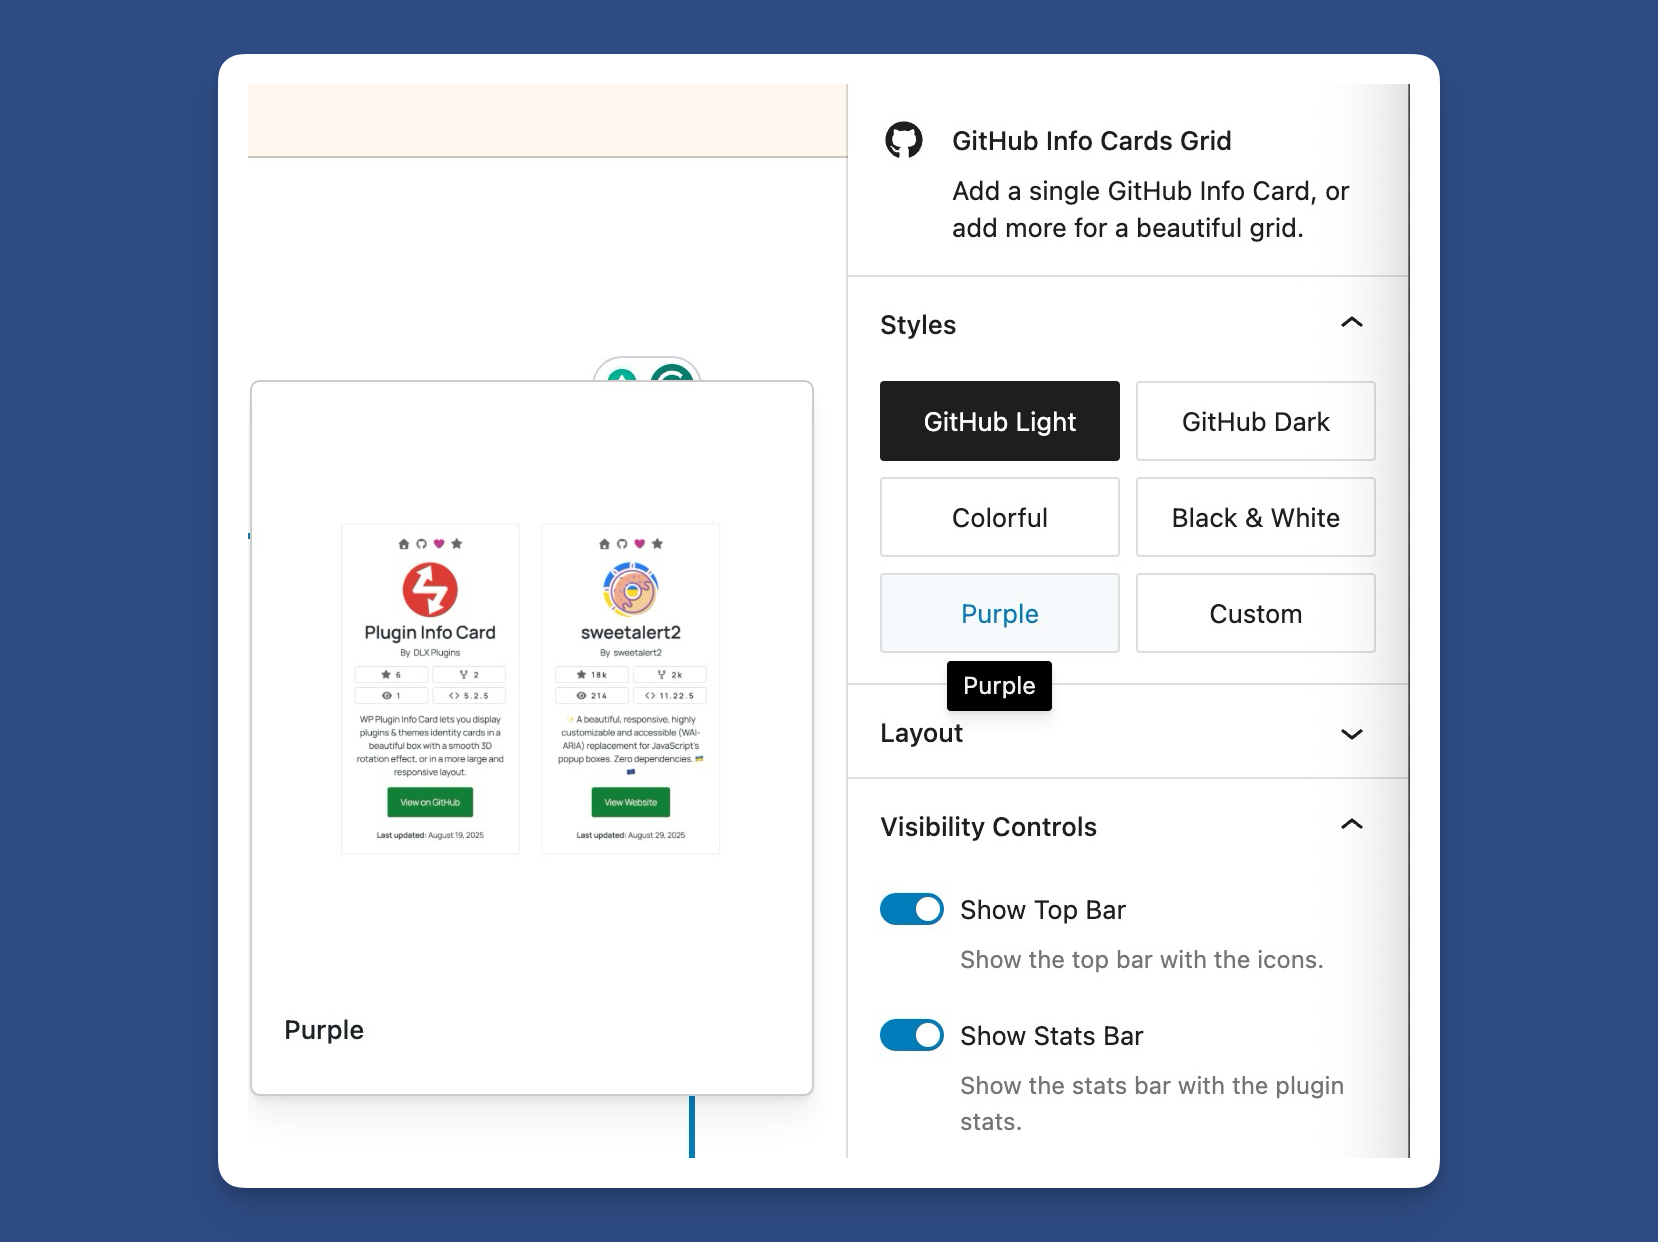
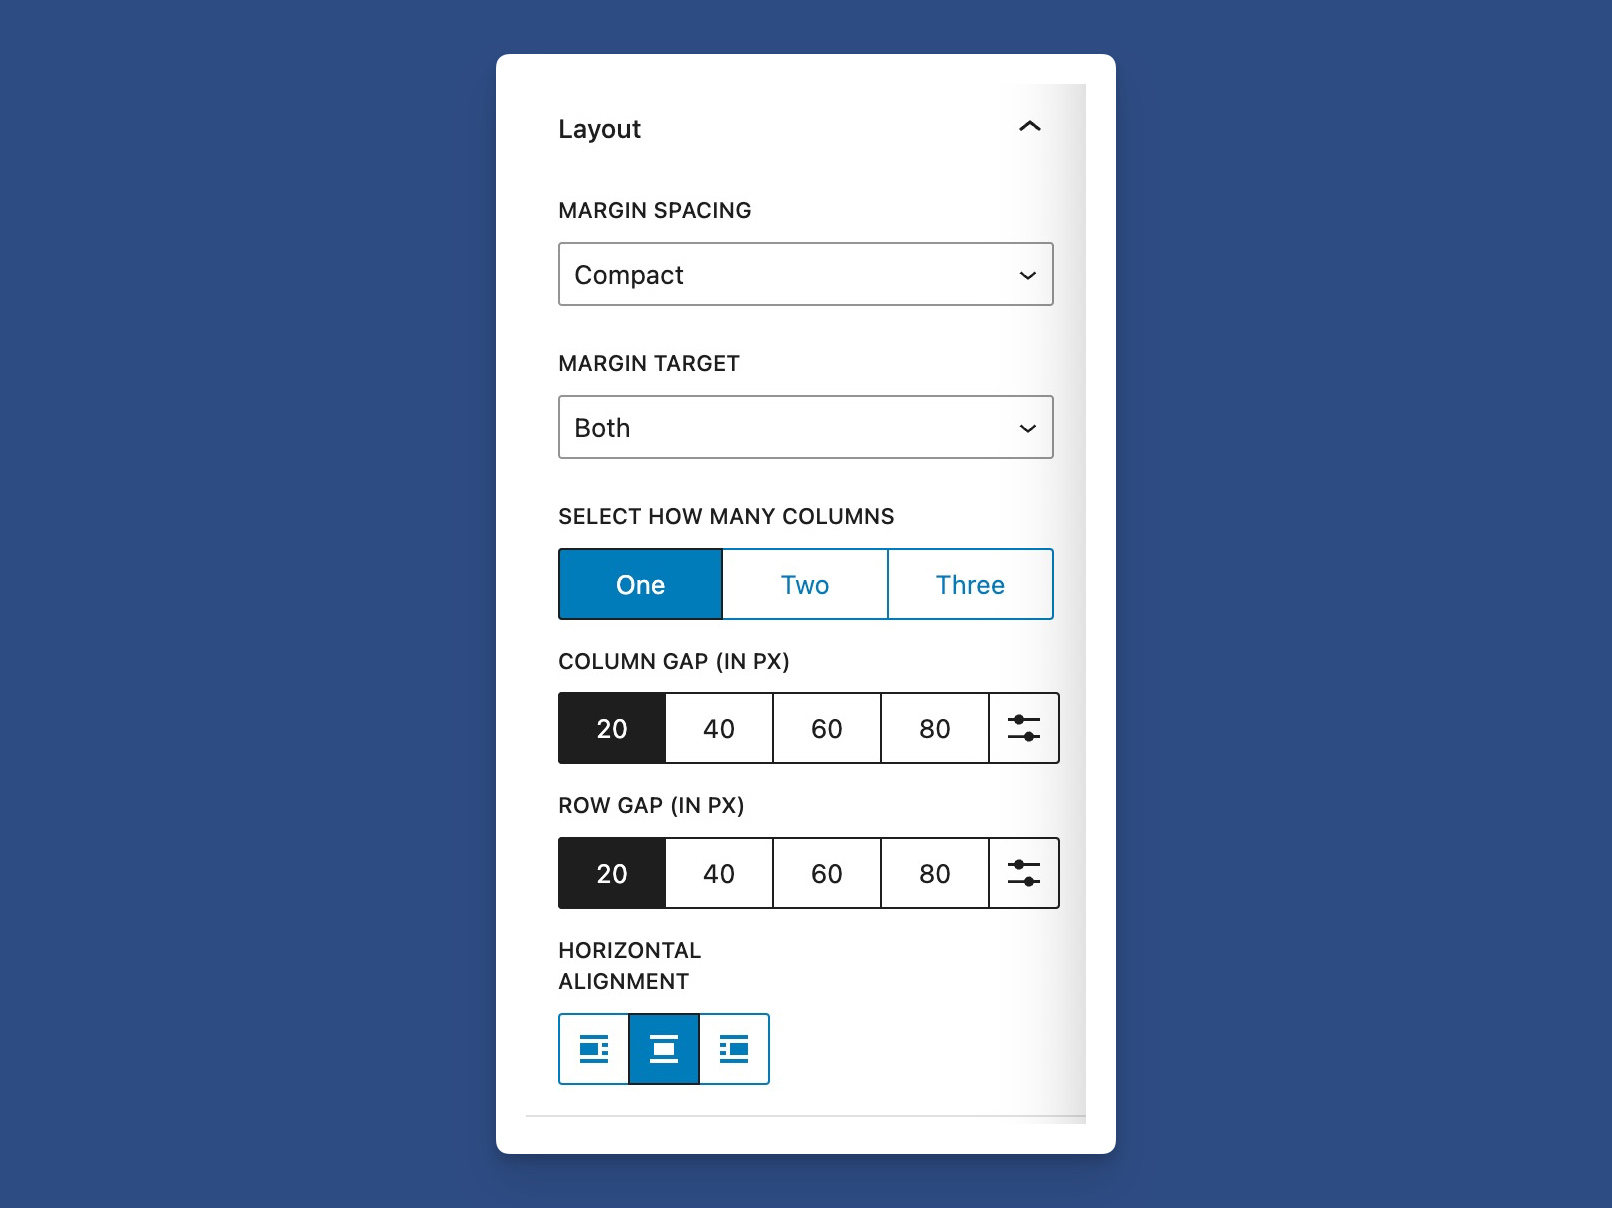
If multiple cards are in one grid, the grid layout settings will be displayed.
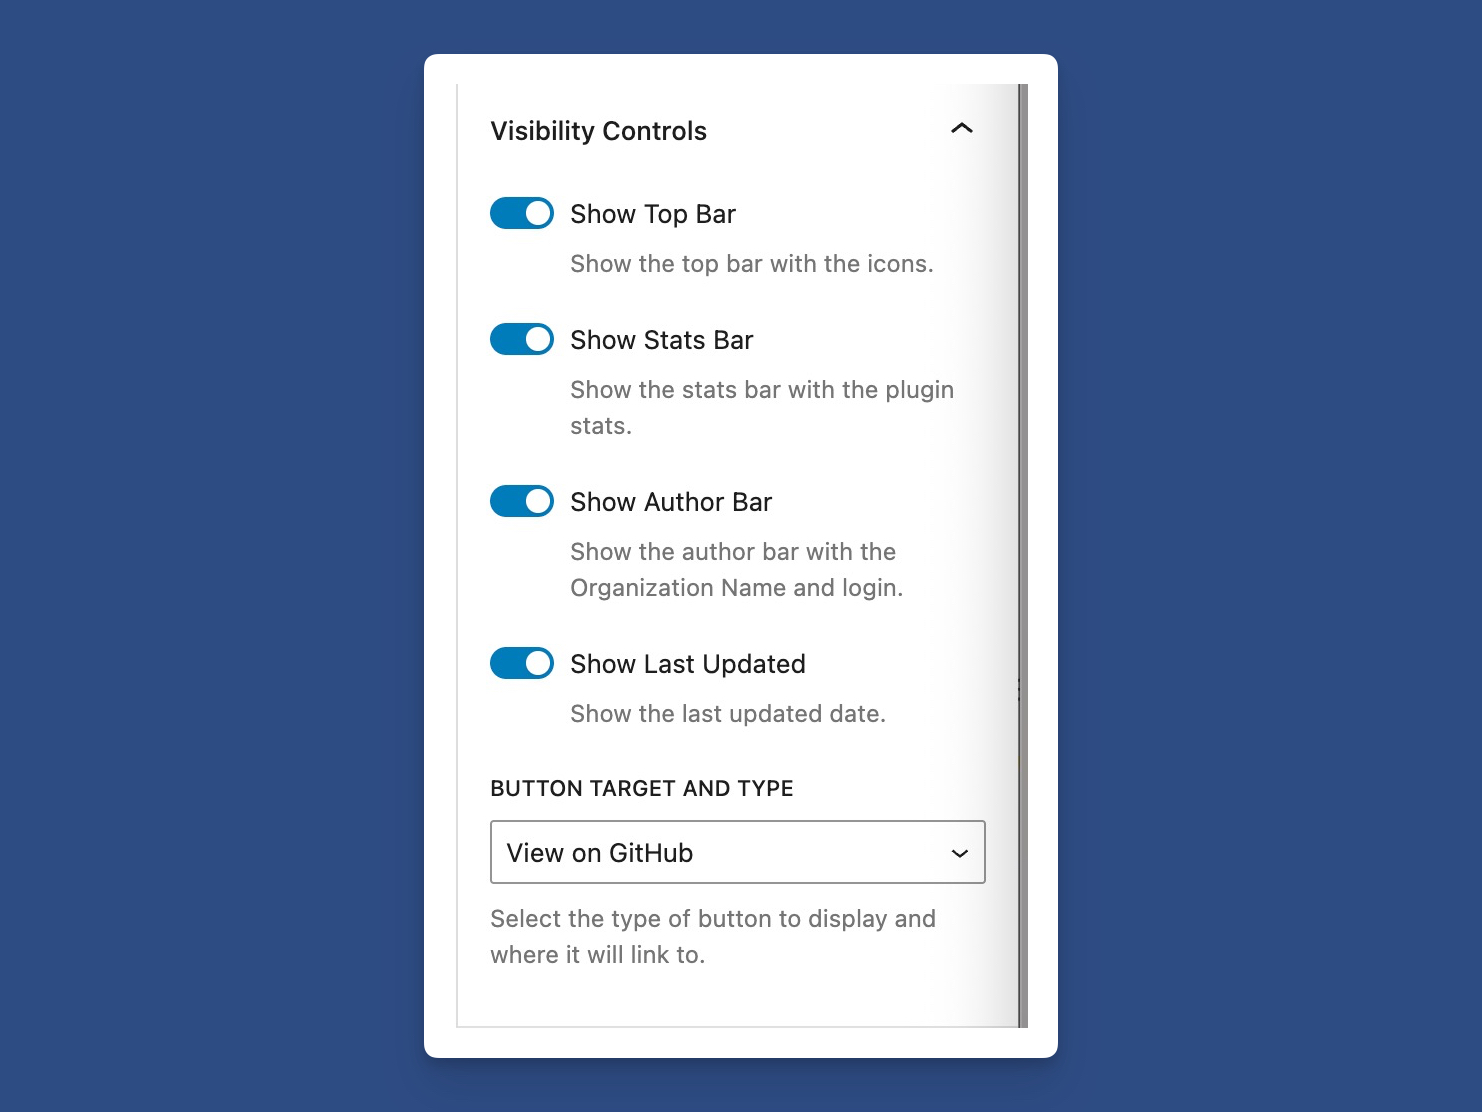
You can also control the visibility settings of certain sections by toggling them on or off. This applies to all cards within the grid.
Configuring the Child Block – GitHub Info Card
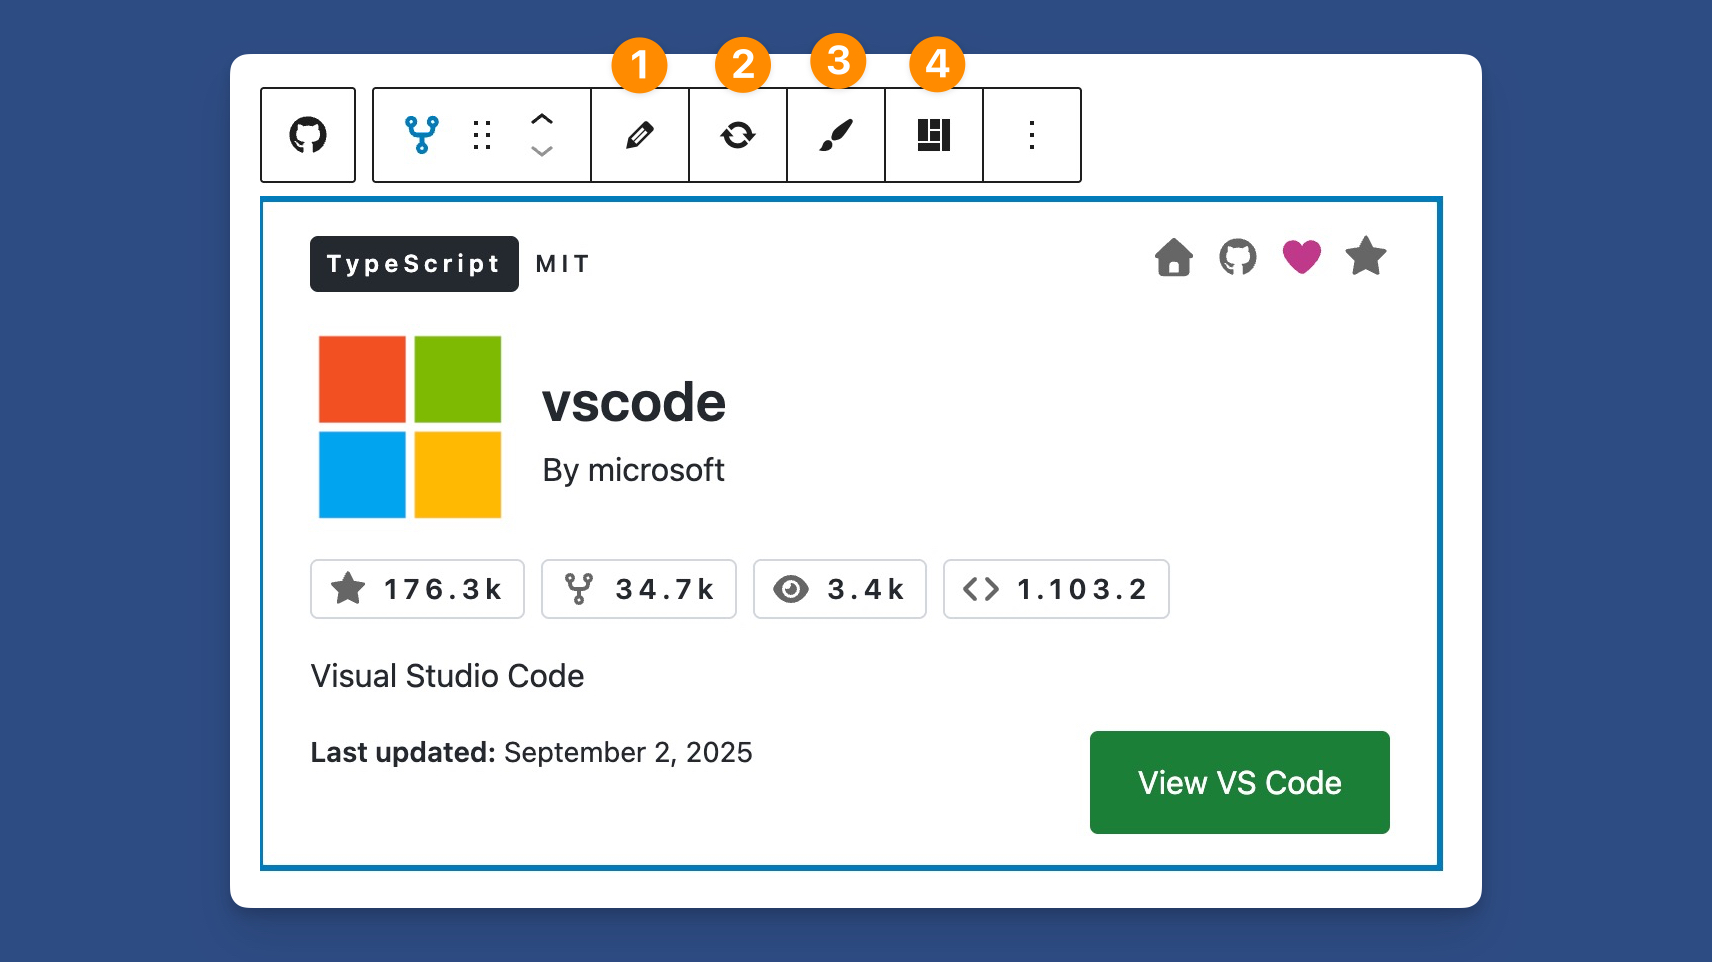
The child block’s toolbar allows you to:
- Edit the GitHub repo’s username and repo name.
- Refresh the repo in the block editor.
- Change the theme of all child blocks.
- Change the appearance of all child blocks.
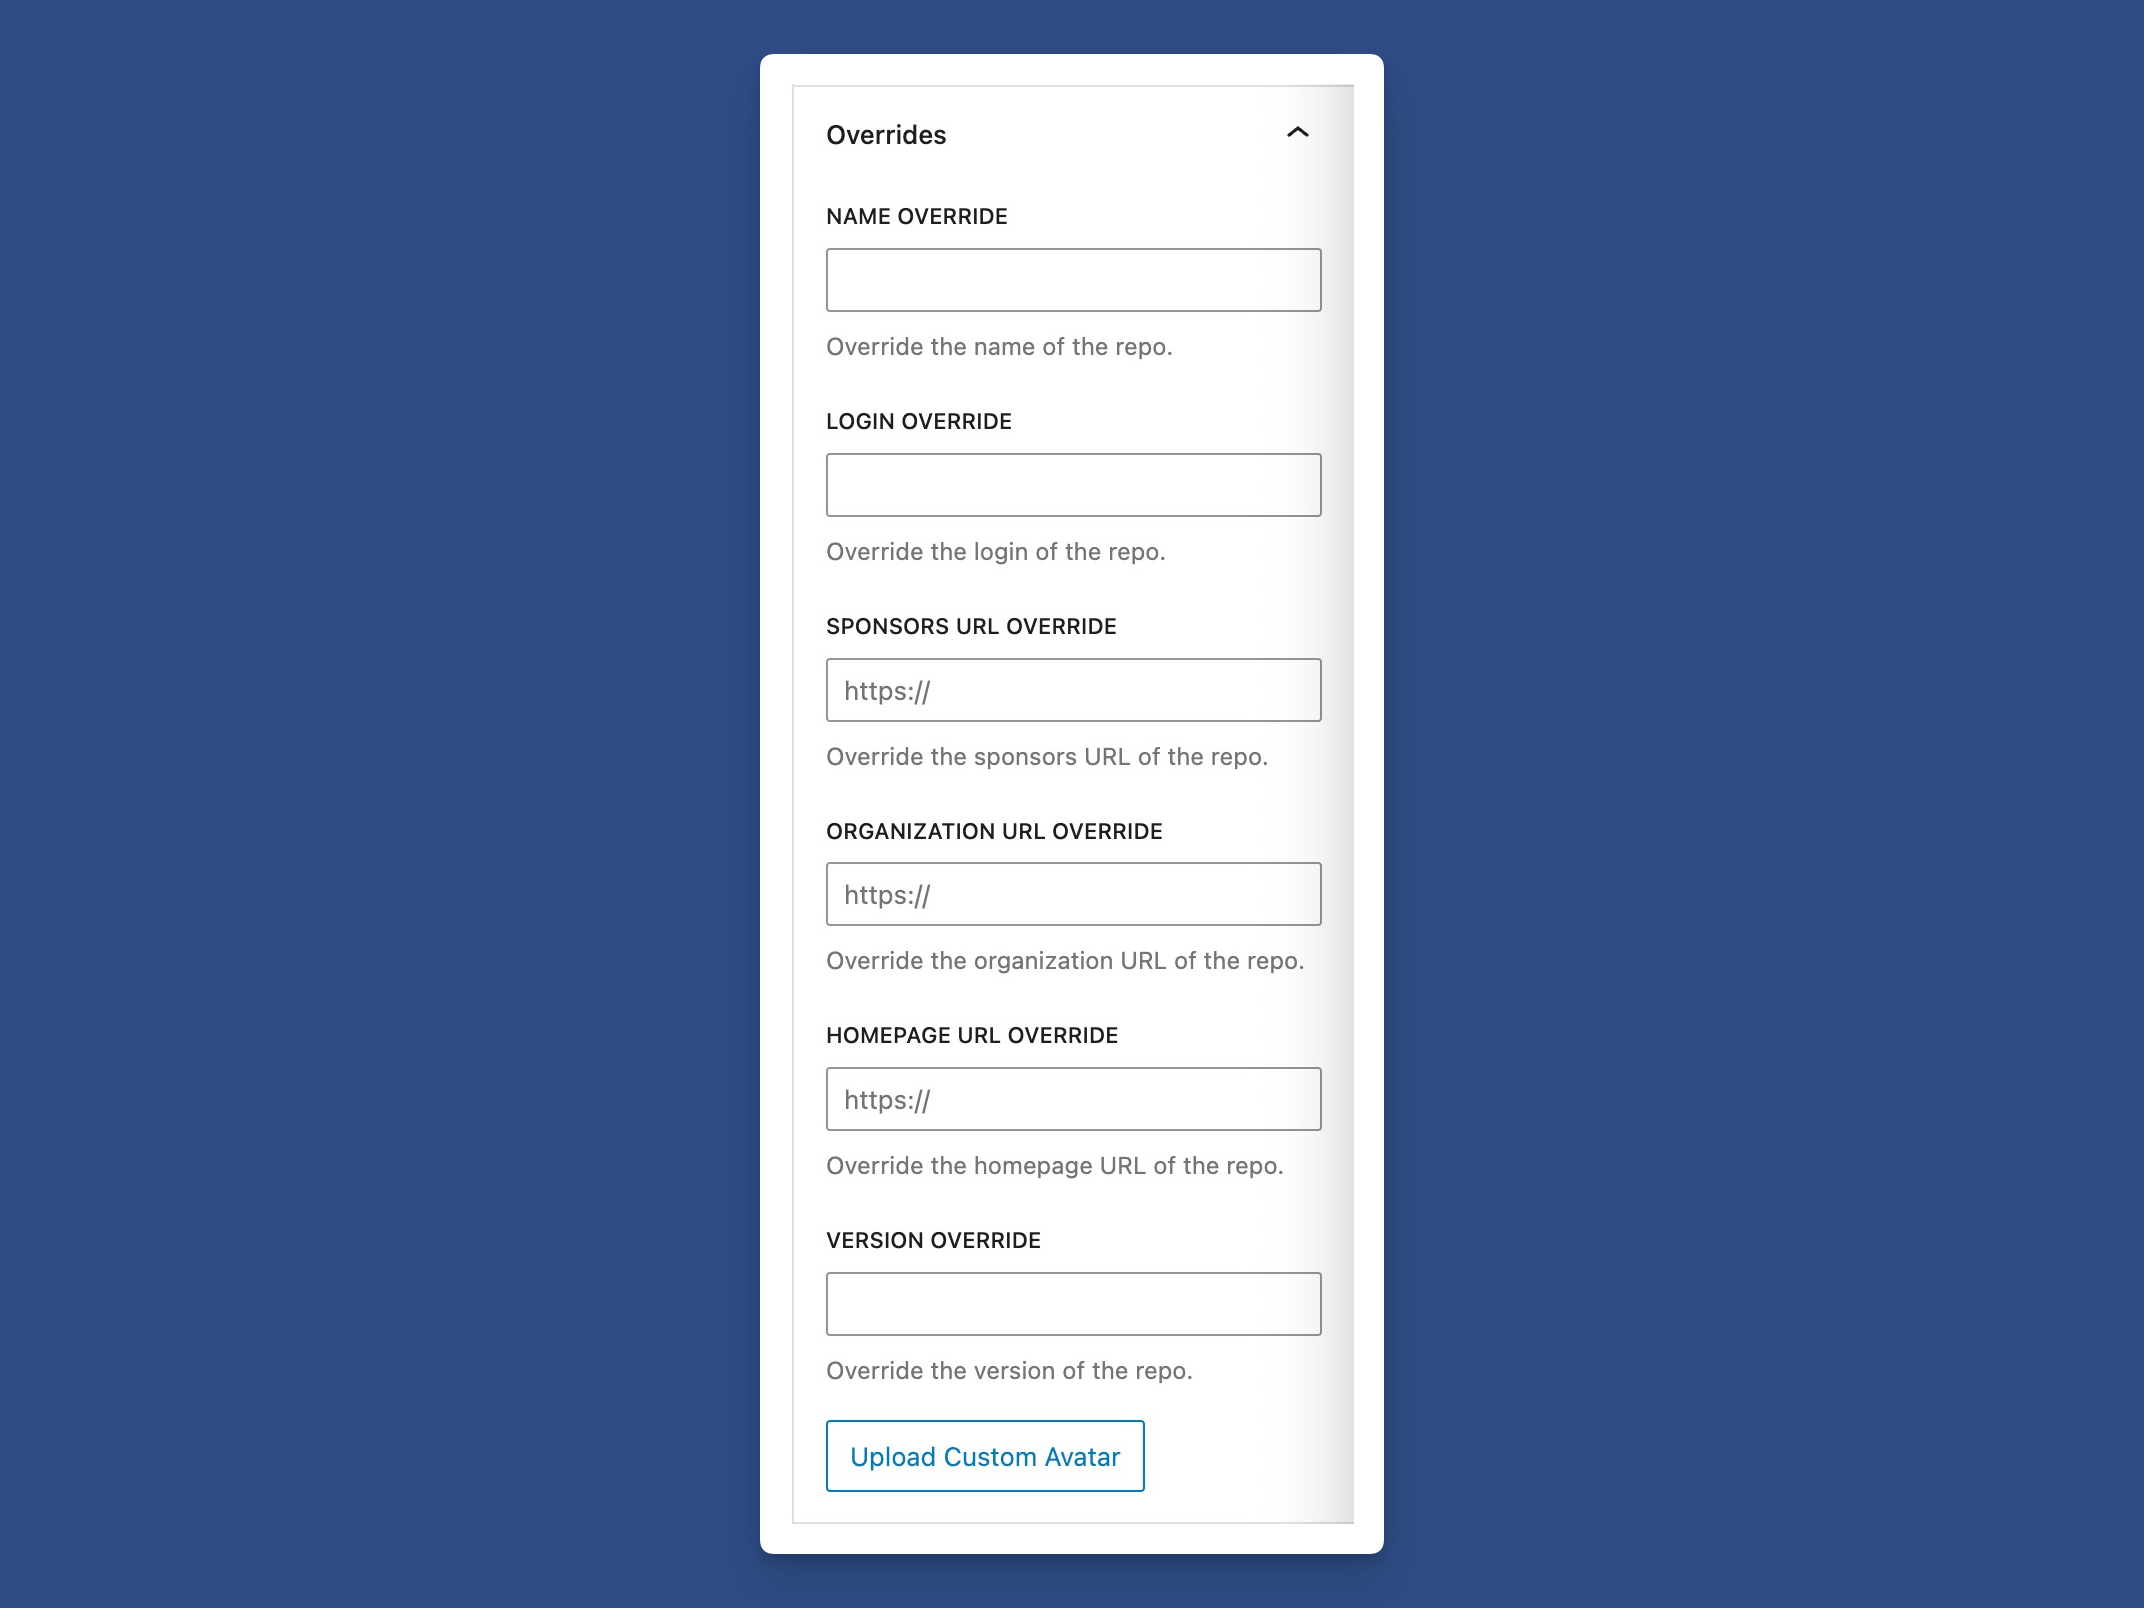
For the child block, the block controls allow you to override various sections of the card, including:
- Repo name
- Repo author
- Homepage URL
- Sponsors URL
- Upload a custom avatar
Additional button controls allow you to customize the button, both in changing the button’s text, and the button’s URL.
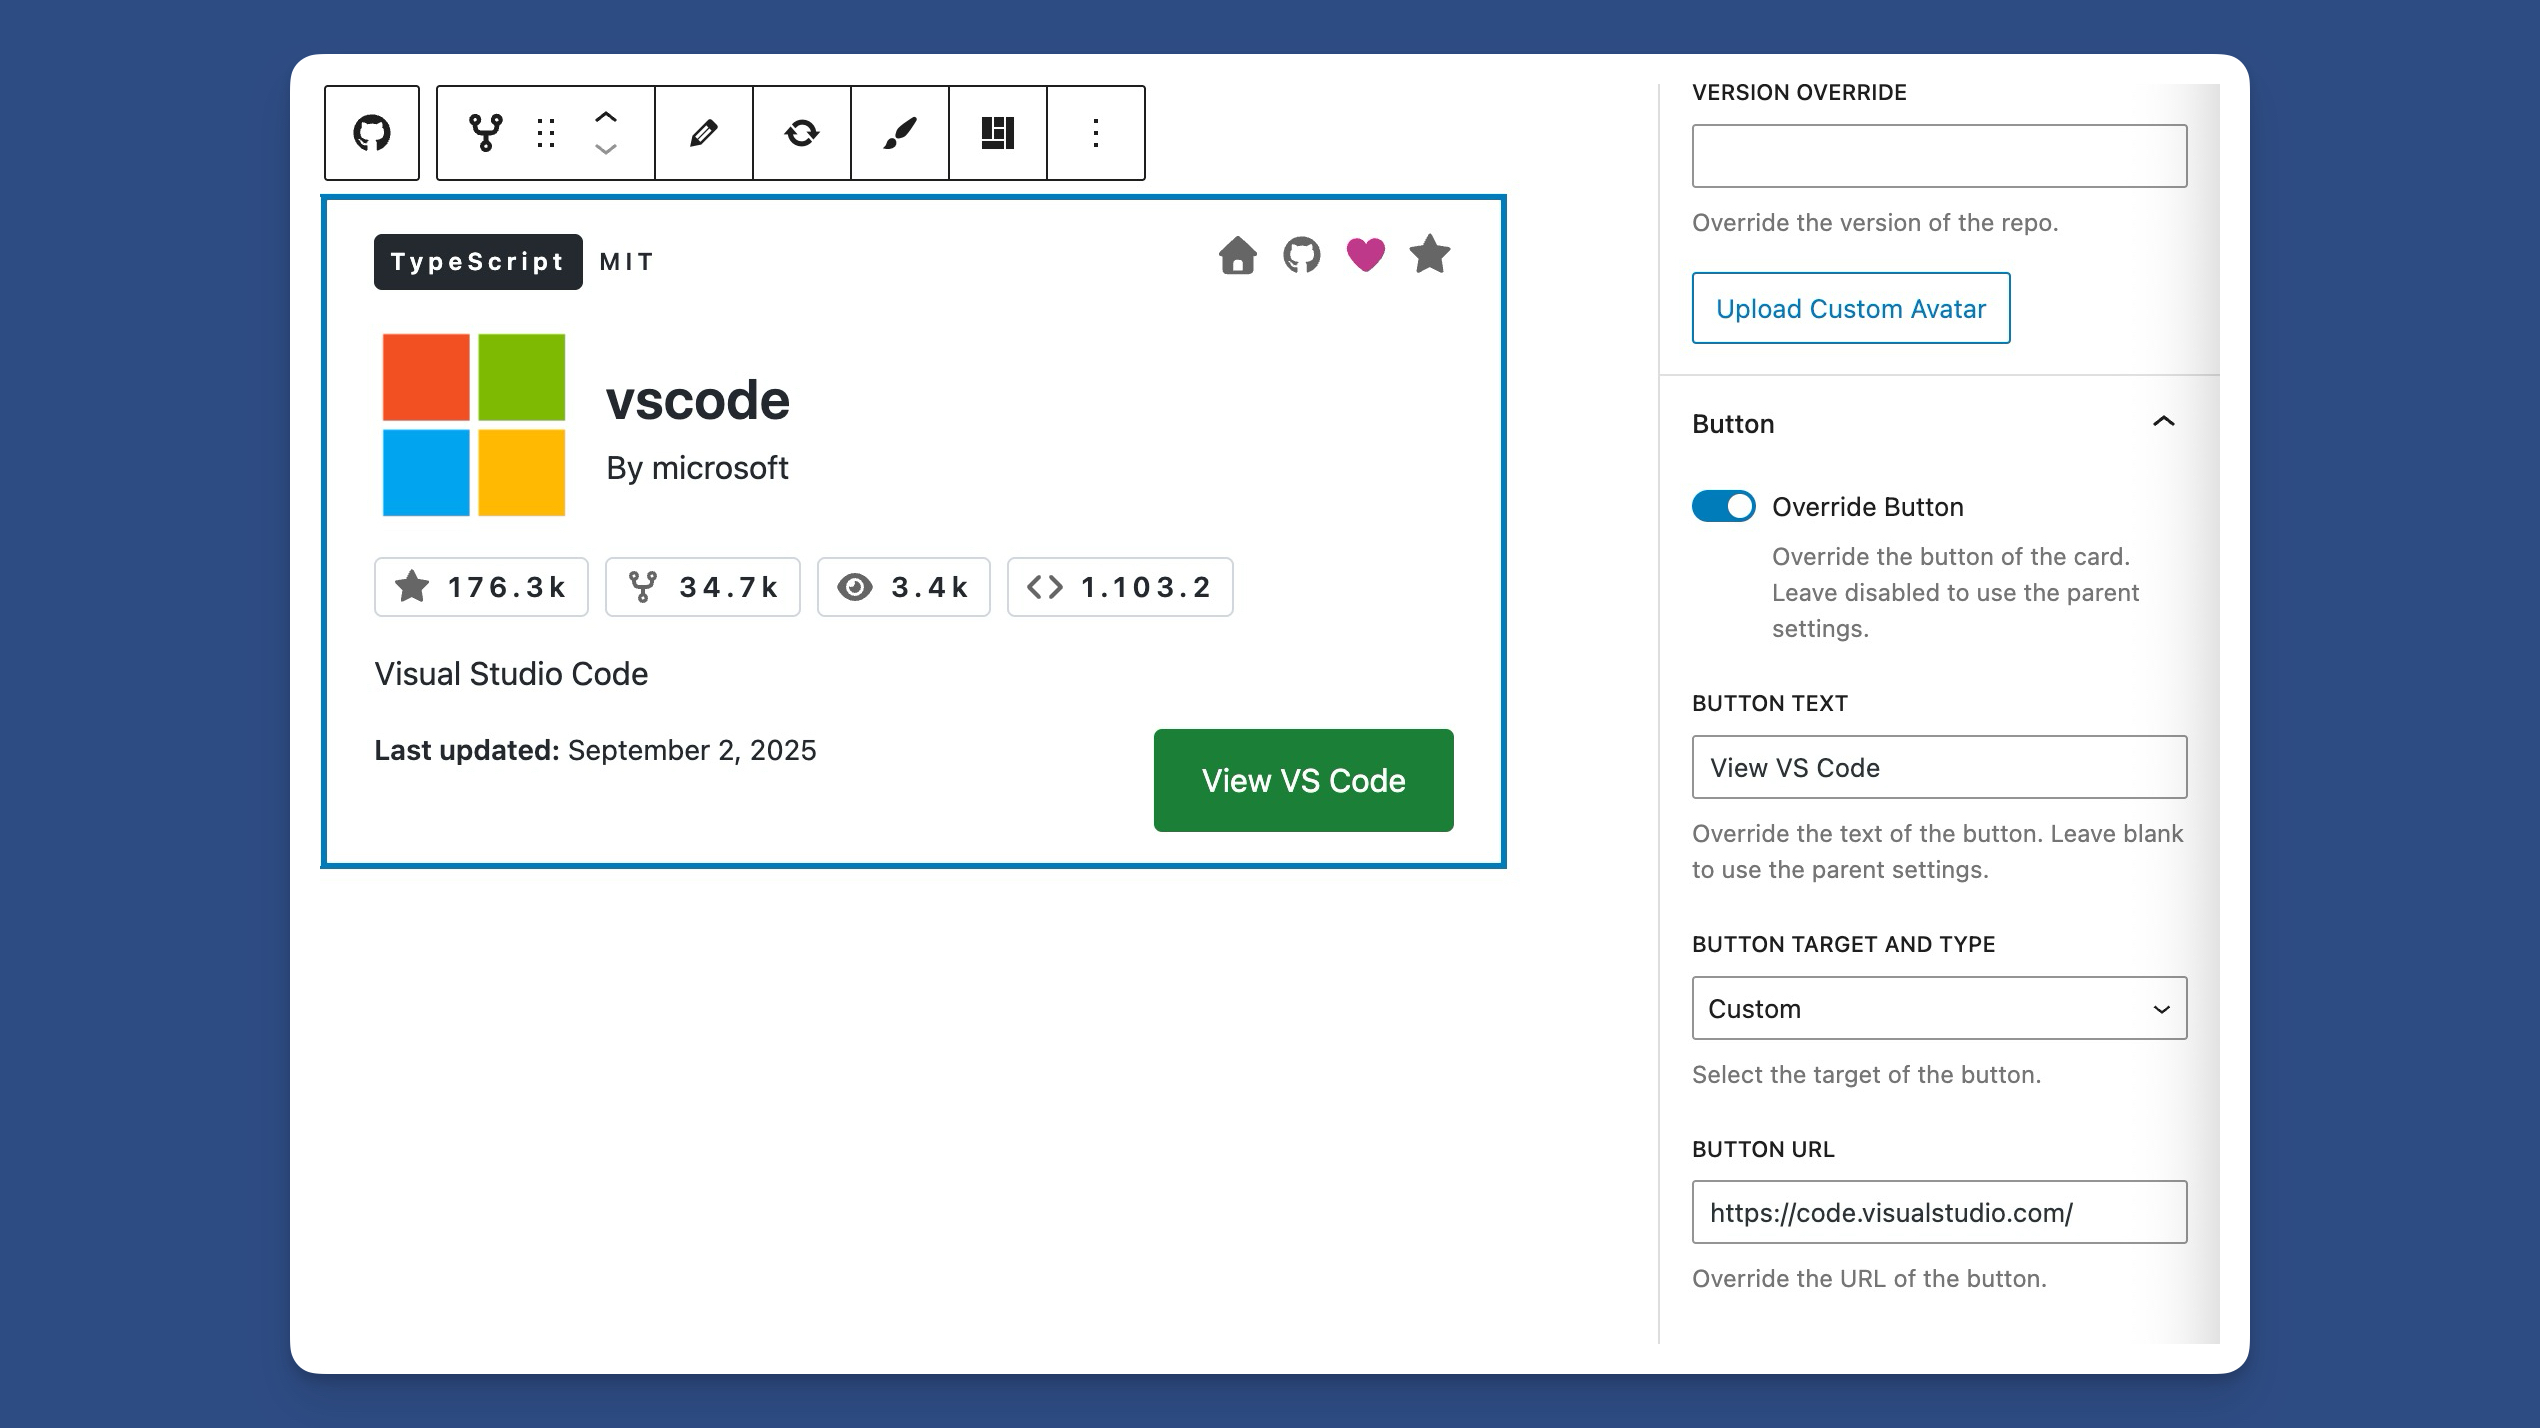
Lastly, you would publish the changes and view the cards on your site.
 WP Plugin Info Card Query Block
 WP Plugin Info Card Block
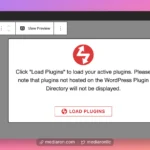 Site Plugins Card Grid
 Plugin Screenshots Info Card
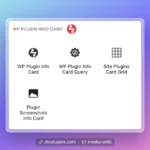 Finding the Blocks
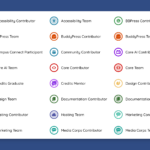 Badges Block